Introduction
A import set helps us to pull in data from various data sources and import them into the ServiceNow table.
Ways to import data
- Manual import of data from a file source(CSV, XLS, or XML)
- Manual import of data from an online data source(HTTP, FTP, LDAP, or JDBC)
- Import data periodically from a data source by defining scheduled imports
- Import data from a web service
Role
A user must have the admin or import_admin role to import data using import set.
There are four key points that we should keep in mind while working with import set tool:
- External data source: The source from where the data needs to be imported.
Below are the multiple sources:
- JDBC
- LDAP
- HTTP
- FTP
- Excel
- CSV
- XML
- Import set table: An import set table is a temporary staging table used to store raw data imported from an external source. It consists of sets of columns and rows imported from external sources. The system also adds a few columns that are used to identify the status of the import process.
- Transform map: A transform map helps to create a relationship between fields in the import set table and the target table.
- Target table: A target table is the one into which the data being imported is either inserted or updated.
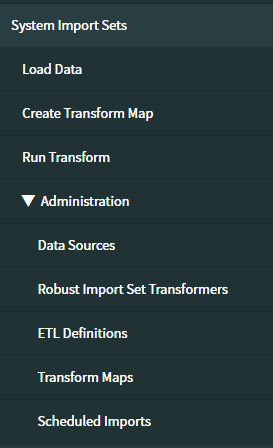
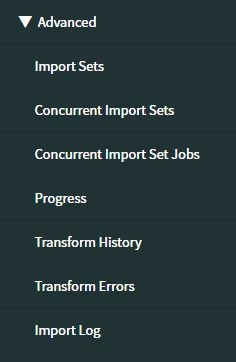
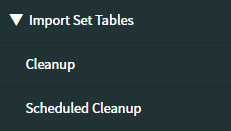
Below are the different modules under the System Import Sets application:
Best Practice
- Before import we need to Verify/clean our data.
- Data should not be imported in extremely large chunks
Importing data
Data Source
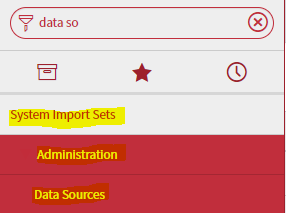
- Navigate to System Import Sets > Administration > Data Sources
- Fillup fields as required.
For more information please click here
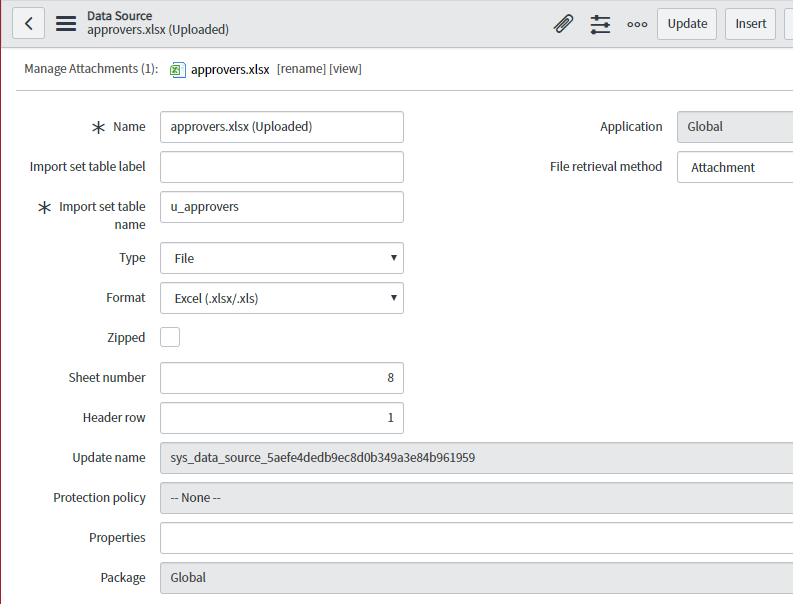
- Attach the attachment if Type is file

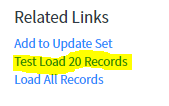
- Click on Test Load 20 Records
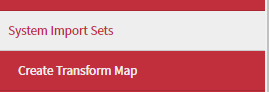
Create Transform Map
- Navigate to System Import Sets > Create Transform Map
- Fillup below fields:
- Name: Any Name
- Source table: Select the import set table
- Active: Checked
- Run business rules: Unchecked (If unchecked, business rules will not get executed)
- Enforce mandatory fields: Only Mapped Fields (The option selected here can change the way values of mandatory fields are handled)
- Copy empty fields: Checked (When checked, the empty values from the staging table copied to the target table instead of leaving it as NULL)
- Target table: Select table where we insert the data in ServiceNow
- Order: 100
- Run script: Unchecked (When checked, the transform map script executes during the transform process. Leave it unchecked for now. We have covered the topic in detail later in the chapter.)

- Click on Submit.
- Click on the Mapping Assist related link.

- We will get below transform map assist page.
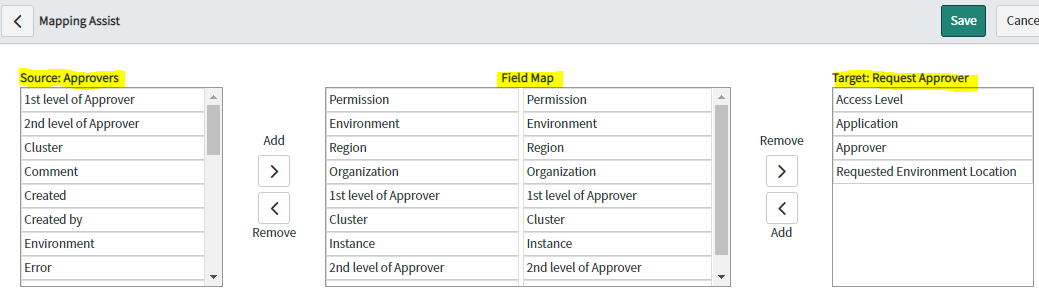
- The columns (fields) of the import set staging table are shown on the left.Columns of the Target table will be shown on the right side list. The center Field Map grid is used to configure mapping and map fields on the left to the fields on the right. To map a field on the left to a field on the field list, both the fields must be in the same position in the field map grid.
- Click on the Save button.

- We can define coalesce on one or more fields. When a field mapping is marked as coalesce, the field is used as a unique key.

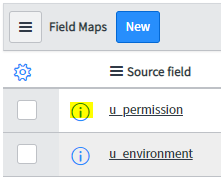
- To modify a property of a field mapping, click on the info icon next to the map entry in the Field Maps list in the transform map detail form.We will open the entry for the ApproverDataMap field to change its property
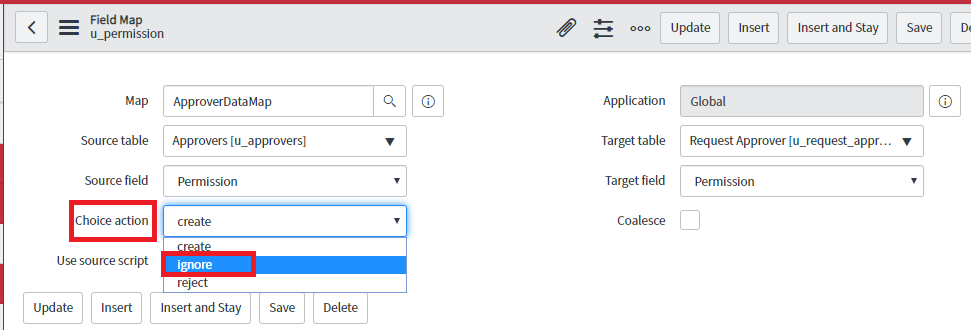
- In the field map entry’s detail form, as shown in the following screenshot, change the value of the Choice action field to ignore:

- Click on the Update button
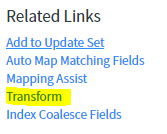
- To run the transform click on Transform from the related link.
- Verify the correct transform map is selected and select the Transform button
 14.The process can take some time depending on the number of records being copied and progress will be visible
Load Data
- Navigate to System Import Sets >Load Data

- Fillup below fields:
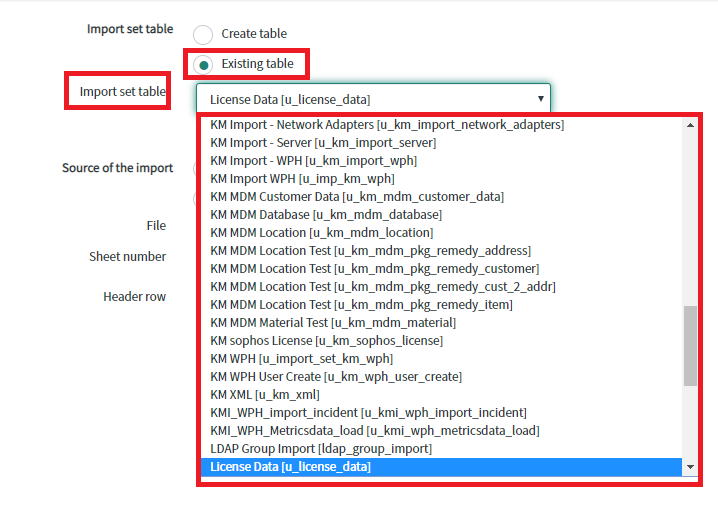
- Import set table: There are two option.
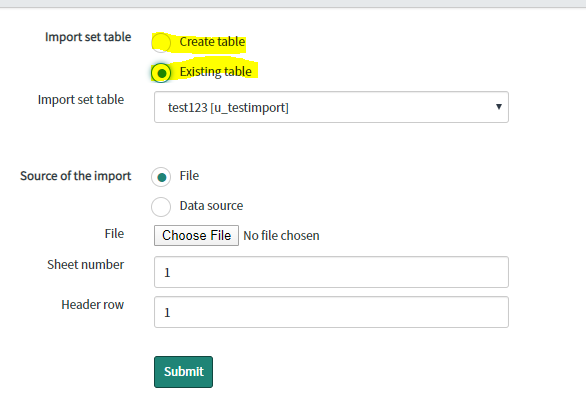
- Existing table:If you select existing table then select Import set table which you have created before)
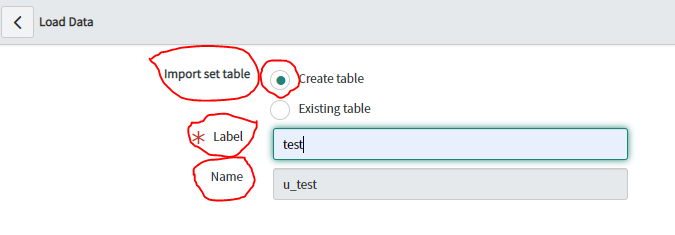
- Create table: If you select create table fill the below details:
- Label: Any Name
- Name: This field will be automatically populated
- Source of import: Select File/ Data Source

- If you select File then you will get below option
- File: Choose the file that you want to import in ServiceNow
- Sheet number: 1
- Header row: 1

- If you select Data Source then you will get below option
- Data Source: Select data source from the dropdown.
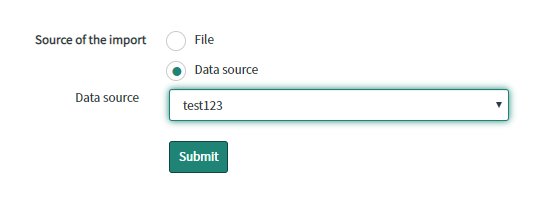
- Import set table: There are two option.
- Click on Submit

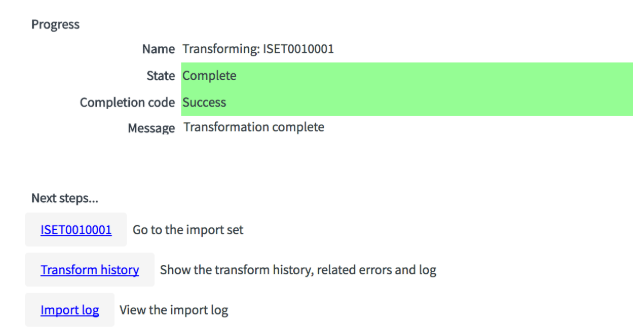
- Once the process will complete, you will get below message

- We have to check that the data we is inserted properly into the import set table. We will click on Import Sets links to open Import Sets module.
- Every attempt to upload new data will create a new Import Sets entry and will be linked to at least one import set table and a source. Each Import Sets is given a unique number that begins with ISET and is followed by 7 digits. The state of the import set is used to determine the status of the import set and tell whether the data is currently loading, loaded, processed, or canceled.

Transform Script
 The transform scripts can be used to control the behavior of the transformation process.

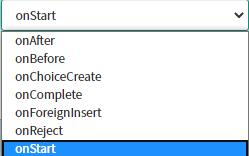
onStart: The onStart event script is processed at the start of an import run, before any data rows are read. onStart runs at the very beginning of the import before any of the records are processed. If you want to notify user that the import has started then you can create the onStart script to send out the message.
onBefore: The onBefore event script is processed at the start of a row transformation, before the source row is transformed into the target row. onBefore runs before every row is processed. This script runs for each individual record. If you want to set or alter values on the source table it can be done here. onBefore scripts can be used to verify that the value of a source field is valid. If the value is invalid, the script can take action.
onAfter: The onAfter runs after every row has been processed, after the source row has been transformed into the target row and saved. Fields on the target table can be accessed from this point. They contain the value that was just inserted. At the time that this script runs, the source and target field values should be the same.
onForeignInsert: The onForeignInsert runs before a new referenced record is created. Since this script only runs on an insert, the choice action “create” has to be selected for that field map. If “create” is not selected, the script will never run.
At this point, we can access values on the source table. We also have access to the fields on the target table that have already been filled in. The one being transformed, however, will not yet have a value. onForeignInsert scripts can manage what happens when a new record is added to a referenced table. When I was playing around with onForeignInserts, I couldn’t find a way to change values on the referenced table from my script. There might be a way to do this, but I haven’t figured it out yet. An onAfter script might be a better option if that’s what you’re going for.
onChoiceCreate:he onChoiceCreate event script is processed at the start of a choice value creation, before the new choice value is created. onComplete:The onComplete event script is processed at the end of an import run, after all data rows are read and transformed. onReject:The onReject event script is processed during the occurrence of a foreign record or choice creation, and the foreign record or choice is rejected, the entire transformation row is not saved.
- Understanding Request, RITM, Task in ServiceNow
- Steps to create a case in ServiceNow (CSM)
- Performance Analytics in 10 mins
- Event Management in 10 minutes - part1
- Event Management in 10 minutes - part2
- Custom Lookup List
- Script includes in 5 minutes
- Interactive Filter in 5 minutes
- UI Policy in 6 Minutes
- Client Side Script Versus Server Side Script in 3 minutes
-
Snow
- Performance Analytics
- ServiceNow Scripts
- Script include
- Useful scripts
- Basic Glide Scripts
- Client Script
- Advance Glide Script
- Glide System Script
- Admin
- Import Set
- Work Flow
- ACL
- SLA
- Notification
- Core Application
- UI Policy
- UI Action
- Client Script
- CAB Workbech
- Data Policy
- Connect Support
- Catalog
- Discovery
- CSM
- Event Management
- HR
- Integrations
- SSO Integration
- LDAP Integration
- SCCM Integration
- AWS Intergration
- Slack Integration
- CTI Integration
- Jira Integration
- Ebonding ServiceNow
- SOAP Integration
- IBM Netcool Integration
- VIP Mobile App Integration
- Rest Integration
- Service Portal
- Questions
- ACL
- Performance analytics(PA) Interactive Filter
- Various Configurations in Performance analytics(PA)
- Service Portal
- Performance Analytics(PA) Widgets
- Performance Analytics(PA) Indicator
- Performance Analytics(PA) Buckets
- Performance Analytics(PA) Automated Breakdown
- Client Script
- Rest Integration
- Understanding the Request, RITM, Task
- Service Catalogs
- Events in ServiceNow
- Advance glide script in ServiceNow
- CAB Workbench
Author
Chandrima
With 9+ years of ITSM development experience,Chandrima likes to deep dive ServiceNow modules.She have extensively worked on PA,Service Portal,Event management.
Comments